 하나씩 점을 찍어 나가며
인프런에서 백기선님의 스프링부트 개념과 활용 강의를 듣고, 개인적으로 공부하며 핵심만 정리한 글입니다.
Spring-Security
먼저 Spring Security 를 적용하면 어떻게 되는지 살펴보자.
1) dependency 추가
<dependency>
  <groupId>org.springframework.boot</groupId>
  <artifactId>spring-boot-starter-security</artifactId>
</dependency>
2) 테스트를 위한 파일 작성
Thymeleaf 를 이용해 간단한 테스트 페이지를 만들어보자.
<dependency>
  <groupId>org.springframework.boot</groupId>
  <artifactId>spring-boot-starter-thymeleaf</artifactId>
</dependency>
<!-- reosurces/templates/hello.html -->
<!doctype html>
<html lang="en">
<head>
<title>Document</title>
</head>
<body>
<h1>hello</h1>
</body>
</html>@Controller
public class HomeController {
@GetMapping("/hello")
public String hello() {
return "hello";
}
}이제 앱을 구동하여 localhost:8080/hello 로 접근하면 다음과 같은 페이지가 보여진다.
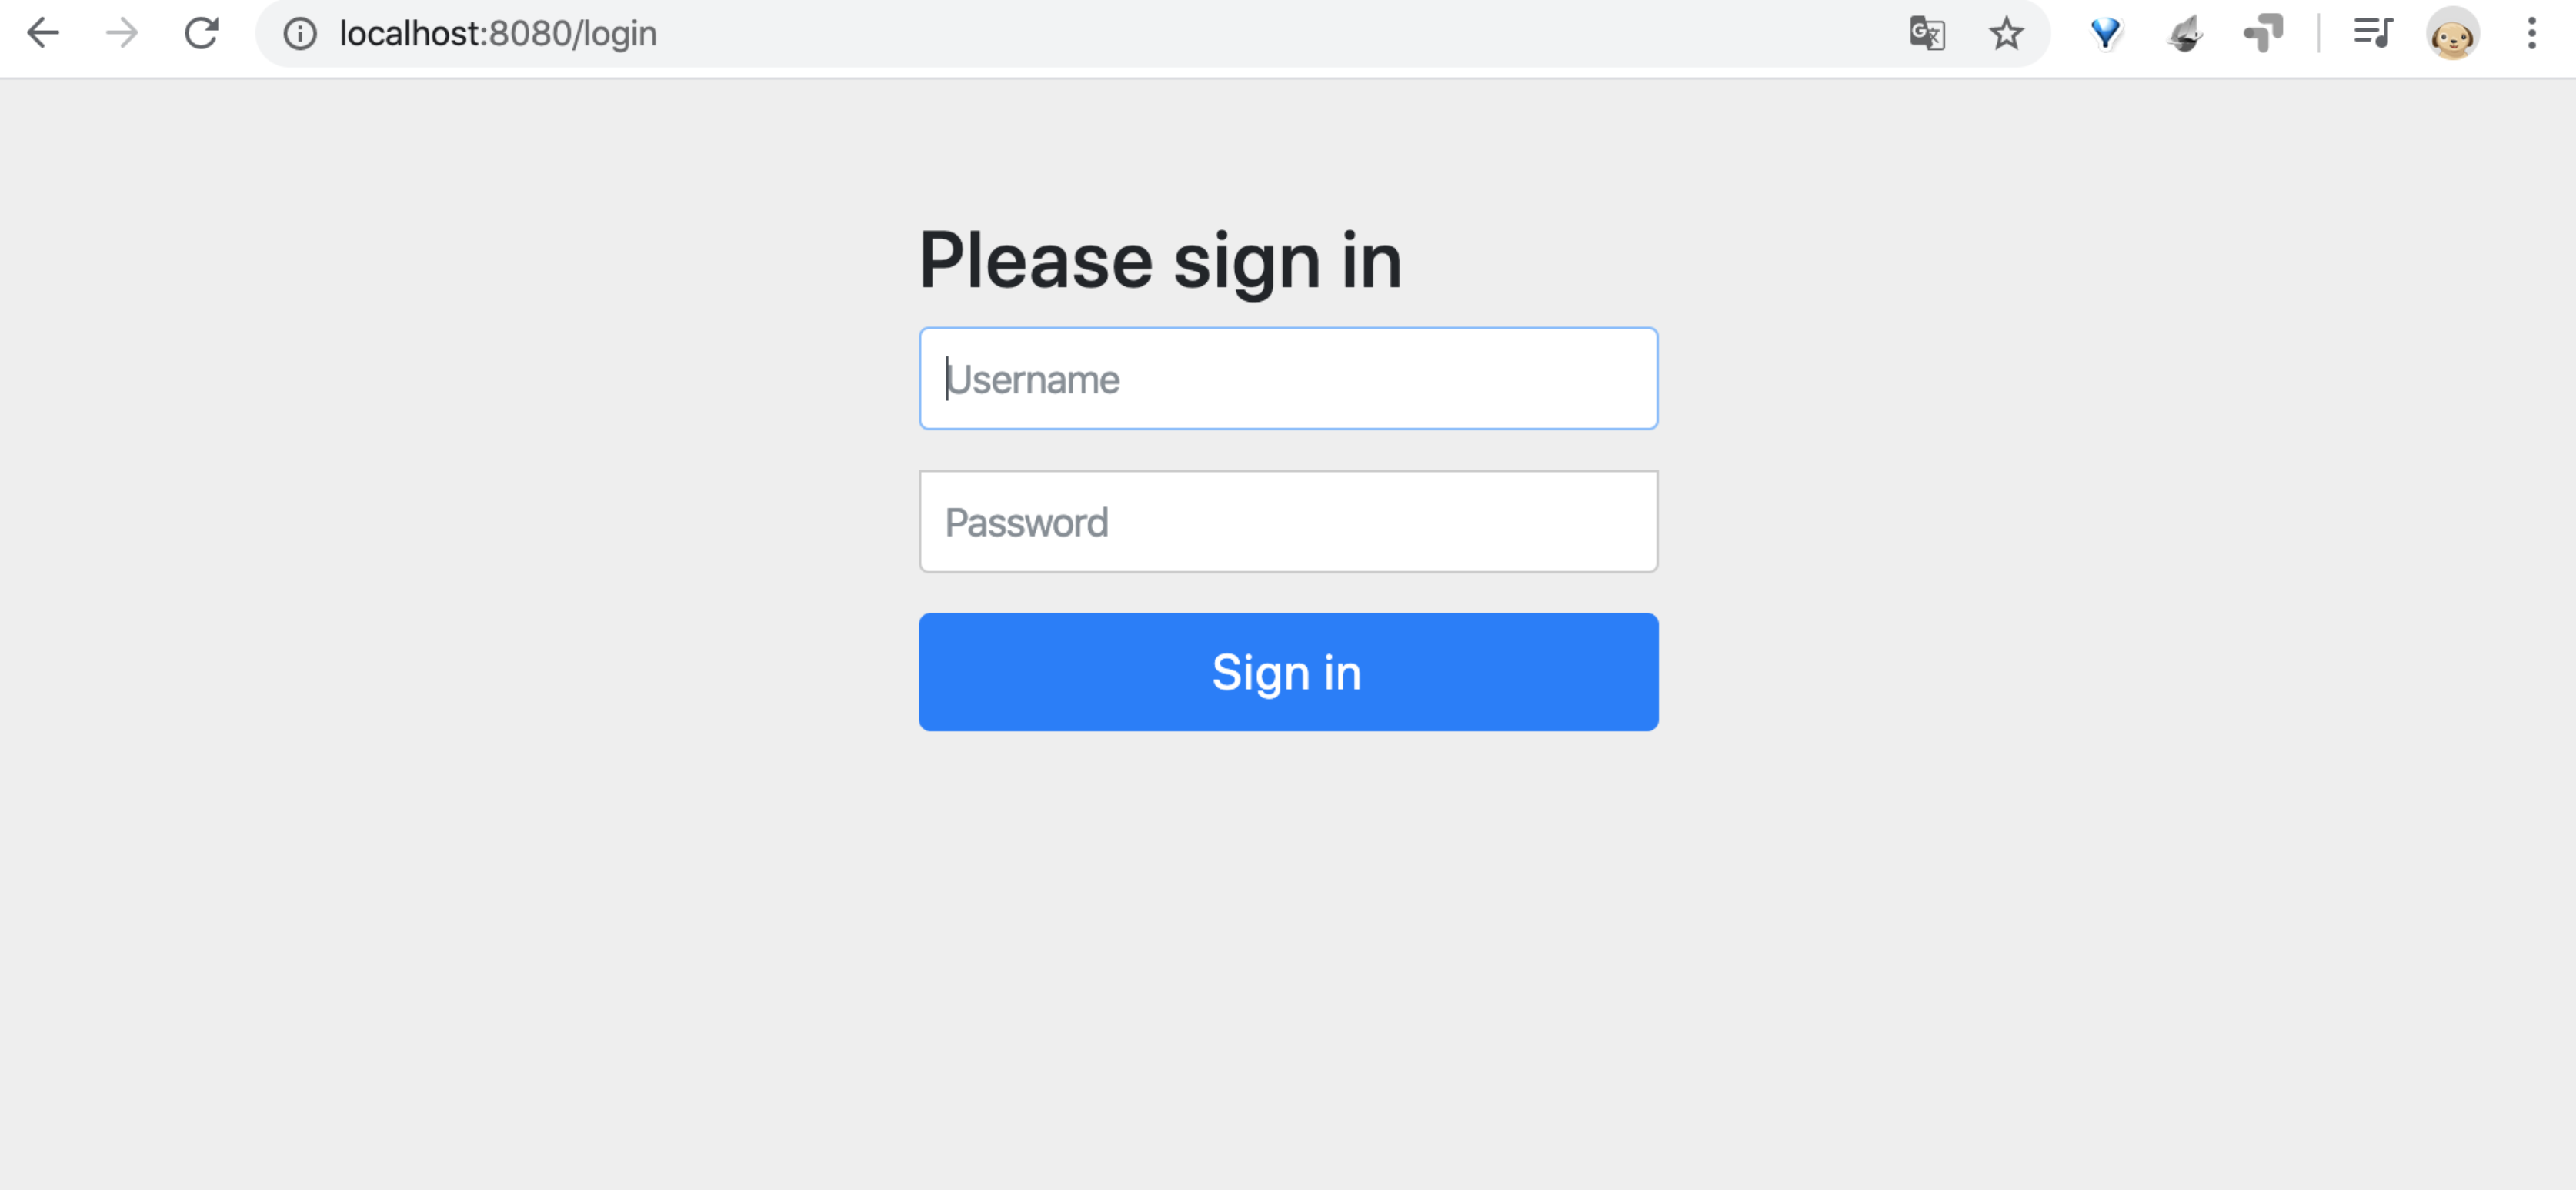
Spring security 가 적용되었기 때문에, 인증되지 않은 사용자가 접근하면 http://localhost:8080/login 로 리다이렉트 된다.
이는 다음 테스트 코드에서도 마찬가지다.
@RunWith(SpringRunner.class)
@WebMvcTest(HomeController.class)
public class HomeControllerTest {

  @Autowired
  MockMvc mockMvc;

  @Test
  public void hello() throws Exception {
    mockMvc.perform(get("/hello")
      .andDo(print())
      .andExpect(status().isOk())
      .andExpect(view().name("hello"));
  }
마찬가지로 테스트 통과에 실패한다.
3) 테스트에 인증된 유저정보 주기
테스트 코드에 인증된 유저정보를 주는 방법은 다음과 같다.
먼저 다음 dependency 를 추가한다.
<dependency>
  <groupId>org.springframework.security</groupId>
  <artifactId>spring-security-test</artifactId>
  <version>${spring-security.version}</version>
  <scope>test</scope>
</dependency>
그리고 테스트 코드에 @WithMockUser 를 추가한다.
@RunWith(SpringRunner.class)
@WebMvcTest(HomeController.class)
public class HomeControllerTest {

  @Autowired
  MockMvc mockMvc;

  @Test
  @WithMockUser // 인증된 Mock 유저 주입
  public void hello() throws Exception {
    mockMvc.perform(get("/hello")
                    .accept(MediaType.TEXT_HTML))
      .andDo(print())
      .andExpect(status().isOk())
      .andExpect(view().name("hello"));
  }
이제 테스트 코드를 실행하면 테스트에 통과한다.
커스터마이징
커스터마이징에 앞서, 테스트 페이지 몇 개를 더 만들어 놓자.
<!-- reosurces/templates/my.html -->

<!doctype html>
<html lang="en">
  <head>
    <title>Document</title>
  </head>
  <body>
    <h1>my</h1>
  </body>
</html>
<!-- reosurces/templates/index.html -->
<!doctype html>
<html lang="en">
<head>
<title>Document</title>
</head>
<body>
<h1>welcome</h1>
<a href="/hello">hello</a>
<a href="/my">my</a>
</body>
</html>위 페이지를 서빙하기 위해 Controller 도 수정해준다.
@Controller
public class HelloController {

  @GetMapping("/hello")
  public String hello() {
    return "hello";
  }

  @GetMapping("/my")
  public String my() {
    return "my";
  }
}
이제 index.html 에 접근하게 되면 hello.html 와 my.html 로 가는 두 개의 링크가 보일 것이다.
현재는 시큐리티 커스터마이징을 하지 않은 상태라, 모든 페이지 접근에 인증된 사용자 정보가 필요하다.
앞으로 커스터마이징을 통해 index.html 과 hello.html 에는 인증되지 않은 사용자도 접근가능하게 하고, my.html 에는 인증된 사용자만 접근할 수 있도록 해보자.
1) Entity 와 DB 세팅
먼저 사용자 인증 정보를 담는, 즉 사용자 계정을 정의하는 Entity Class 를 정의하자.
// account/Account.class

@Entity
public class Account {

  @Id @GeneratedValue
  private Long id;
  private String username;
  private String password;

  ... getter and setter ...
}
이제 이 Entity 를 담을 DB 설정을 하자.
여기서는 간단하게 작동시키기 위해, h2 DB와 JPA 를 사용한다.
<dependency>
  <groupId>com.h2database</groupId>
  <artifactId>h2</artifactId>
</dependency>
<dependency>
  <groupId>org.springframework.boot</groupId>
  <artifactId>spring-boot-starter-data-jpa</artifactId>
</dependency>
// account/AccountRepository.java
public interface AccountRepository extends JpaRepository<Account, Long> {
Optional<Account> findByUsername(String username);
}2) SecurityConfig 설정
WebSecurityConfigurerAdapter 를 상속받는 SecurityConfig 클래스를 정의하자.protected void configure(HttpSecurity http) 를 오버라이딩하여 권한 설정을 커스텀하게 줄 수 있다.
// config/SecurityConfig.java

@Configuration
public class SecurityConfig extends WebSecurityConfigurerAdapter {

  @Override
  protected void configure(HttpSecurity http) throws Exception {
    http
      .authorizeRequests() // 인증이 필요한 모든 요청에 대해
        .antMatchers("/", "/hello").permitAll() // "/", "/hello" 는 인증정보 필요 없음.
        .anyRequest().authenticated() // 그 외 모든 요청은 인증정보 필요함.
        .and()
      .formLogin() // formLogin 사용할 거임.
        .and()
      .httpBasic(); // httpBasic 도 사용할 거임.
  }
}
위 코드는 기존의 시큐리티 자동설정 파일에 있는 WebSecurityConfigurerAdapter 를 오버라이딩한 것이다.
자동설정의 WebSecurityConfigurerAdapter 의 오버라이딩된 메쏘드를 찾아보면 다음과 같이 생겼다.
protected void configure(HttpSecurity http) throws Exception {
  http
    .authorizeRequests()
      .anyRequest().authenticated()
      .and()
    .formLogin()
      .and()
    .httpBasic();
}
또, WebSecurityConfigurerAdapter Bean 을 새로 정의하여 등록한 것이기 때문에, 기존의 자동설정은 이제 적용되지 않는다.
3) PasswordEncoder 설정
인증 계정 정보에 들어가는 패스워드는 모두 인코딩이 된 형태로 DB 에 들어가야한다.
예를 들어 비밀번호 123 그대로 DB 에 넣을 수는 없는 셈. 이를 해쉬화된 형태로 만들어줘야한다.
이 역할을 해주는 passwordEncoder 클래스를 Bean 으로 등록하자.
여기서는 SecurityConfig 클래스 내부에 정의한다.
@Configuration
public class SecurityConfig extends WebSecurityConfigurerAdapter {

  ...

  @Bean
  public PasswordEncoder passwordEncoder() {
    return PasswordEncoderFactories.createDelegatingPasswordEncoder();
  }
}
PasswordEncoderFactories 를 이용하여 DelegatingPasswordEncoder 를 만들어 내보냈다.
이제 DB 에 넣기 전에 이 인코더를 활용하면 된다.
4) Service 작성
Repository 를 가져다 사용하는 Service 컴포넌트를 만들자.
// account/AccountService.java

@Service
public class AccountService implements UserDetailsService {

  @Autowired
  private AccountRepository accountRepository;

  @Autowired
  private PasswordEncoder passwordEncoder;

  public Account createAccount(String username, String password) {
    Account account = new Account();
    account.setUsername(username);
    account.setPassword(passwordEncoder.encode(password)); // encoder 사용
    return accountRepository.save(account);
  }

  // UserDetailsService 로 인해 구현해야하는 부분
  @Override
  public UserDetails loadUserByUsername(String username) throws UsernameNotFoundException {
    Optional<Account> byUsername = accountRepository.findByUsername(username);
    Account account = byUsername.orElseThrow(() -> new UsernameNotFoundException(username));
    return new User(account.getUsername(), account.getPassword(), authorities());
  }

  private Collection<? extends GrantedAuthority> authorities() {
    return Arrays.asList(new SimpleGrantedAuthority("ROLE_USER"));
  }
}
여기서 좀 특이한 부분은 클래스 하단 부의 public UserDetails loadUserByUsername(String username) 부분인데, 이는 UserDetailsService 를 인터페이스 구현하면서 반드시 구현해야하는 부분이다.
UserDetailsService 를 구현하게 되면, 스프링 인증 계정과 내 DB 의 Account 객체가 연동된다.
즉 loadUserByUsername 를 이렇게 연동할 수 있게끔 코딩해야 하는데, 그냥 위같이 해주면 된다.
(자세한 건 따로 더 공부해야할 듯 싶다.)
아무튼 여기서는 간단하게 정리하면 해야할건 두 가지다.
UserDetailsService를implement해야 함.public UserDetails loadUserByUsername(String username)구현으로 사용자 계정 DB 와 연동해야 함.
5) 테스트
여기서는 테스트 코드를 이용하지 않고, ApplicationRunner 를 사용해서 사용자 계정을 만들어 직접 접속해본다.
// AccountRunner.java

@Component
public class AccountRunner implements ApplicationRunner {

  @Autowired
  AccountService accountService;

  @Override
  public void run(ApplicationArguments args) throws Exception {
    Account heumsi = accountService.createAccount("heumsi", "1234");
    System.out.println(heumsi);
  }
}
이제 앱을 실행하자. 위의 AccountRunner 도 동시에 실행될 것이다.

index.html 에 접근해도 인증 정보가 요구되지 않는다. (이전처럼 login 페이지가 로드되지 않음)my.html 로 접근을 시도하면,
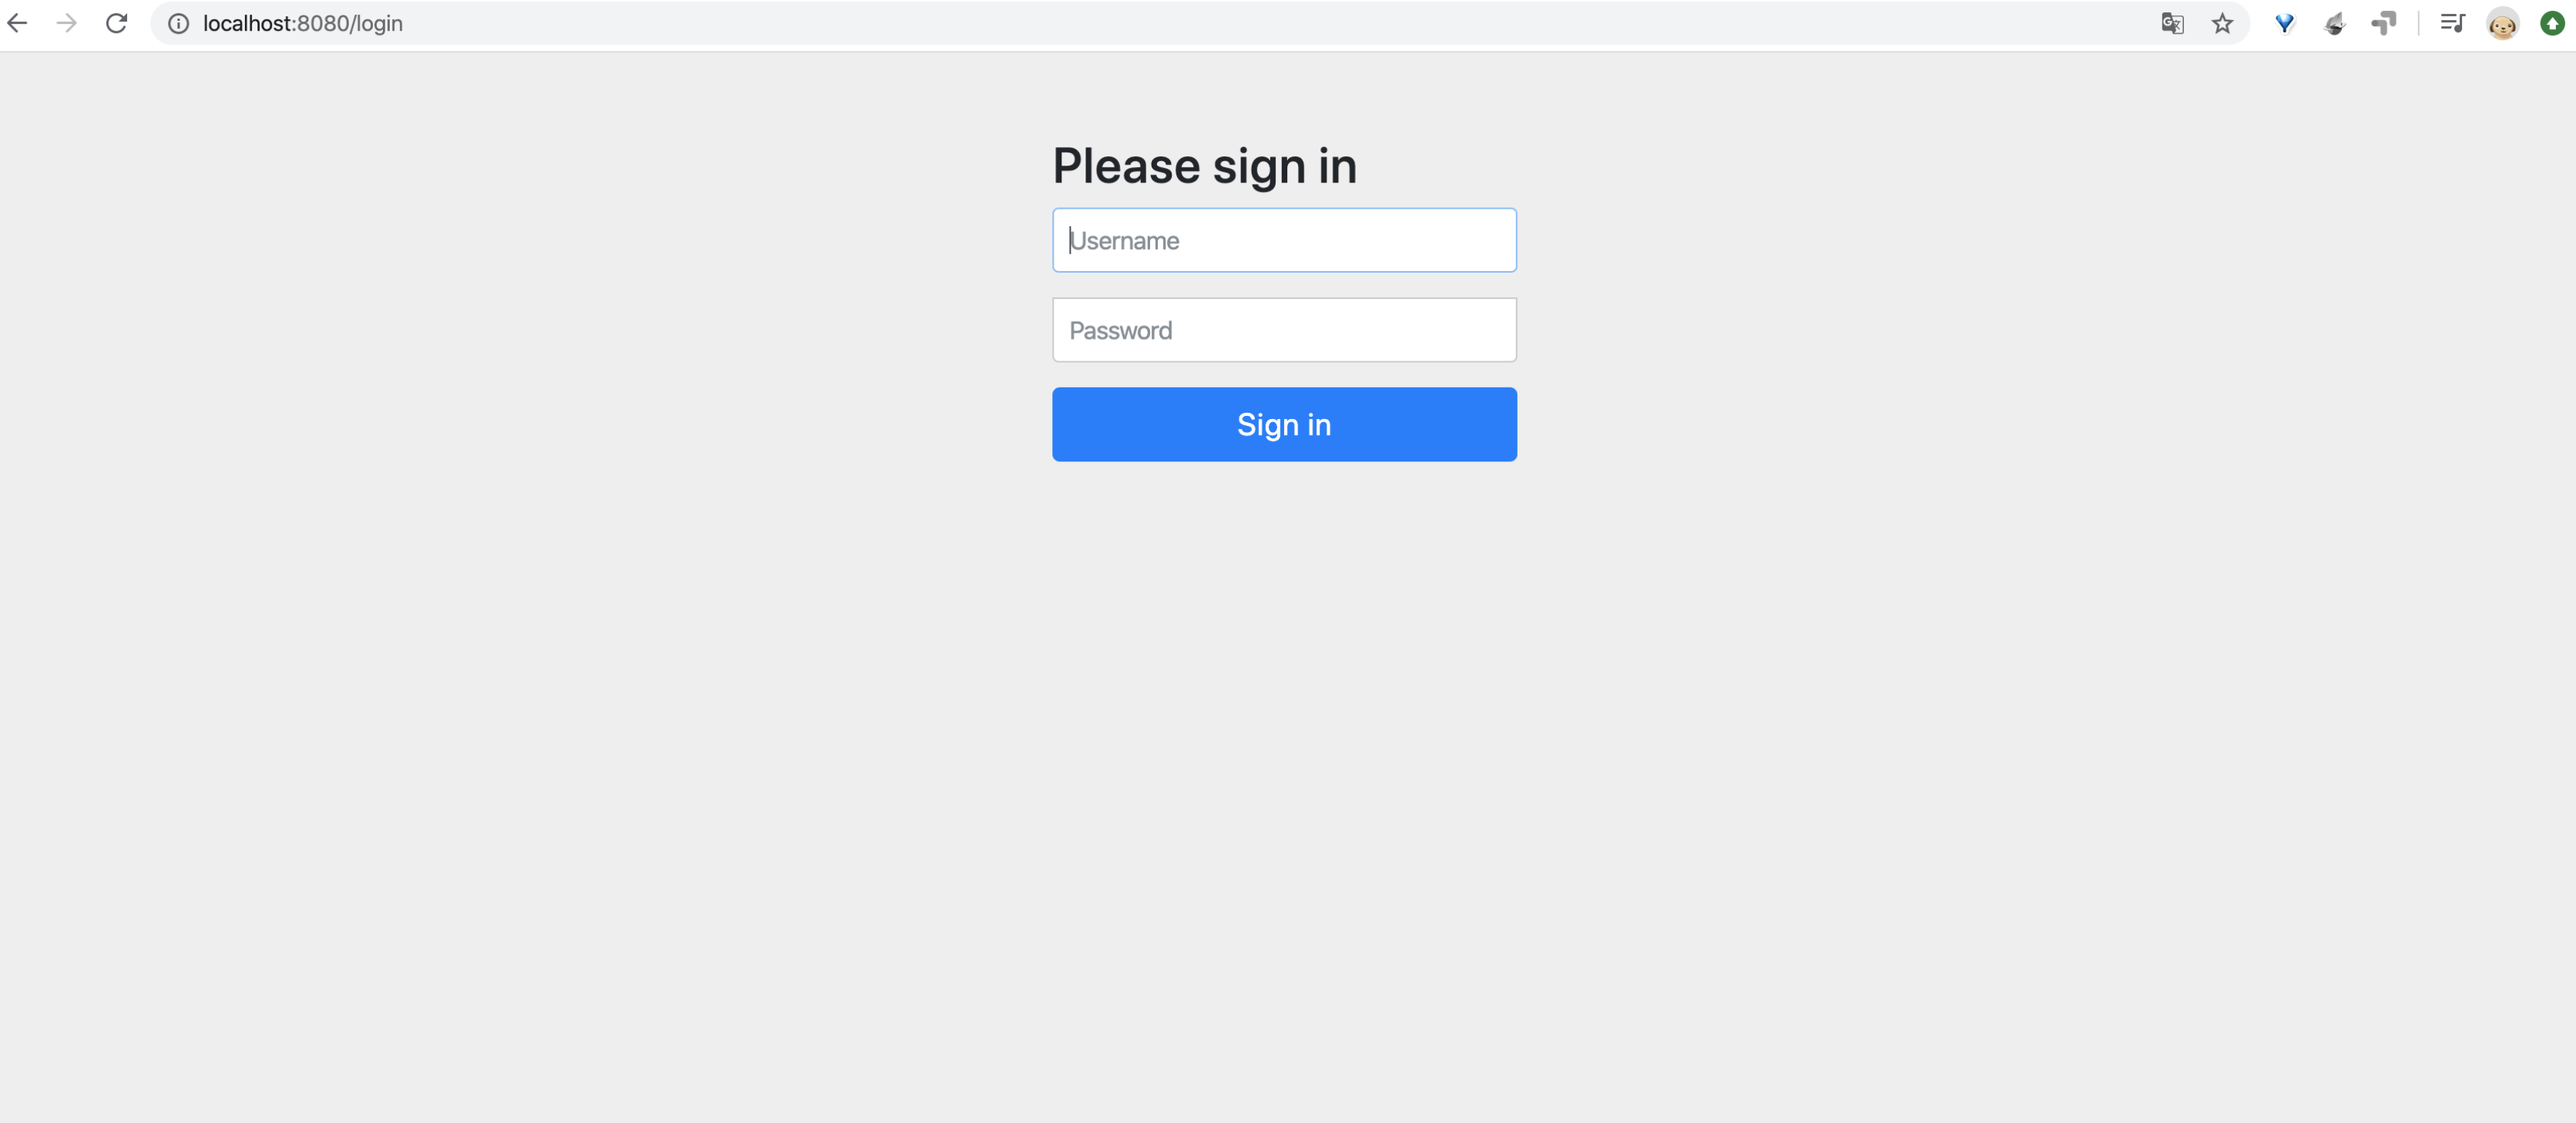
인증 정보를 요구하는 로그인 페이지가 등장한다.
위 코드로 heumsi / 1234 인 계정을 만들었으므로, 이를 통해 접속하면

다음과 같이 잘 접속되는 것을 알 수 있다.
한편, 인코딩된 비밀번호는 로그에 다음과 같이 찍힌 것을 볼 수 있다.
Account{
  id=1,
  username='heumsi',
  password='{bcrypt}$2a$10$uAcjw8tUwJ2aXVjaUWh1VOcJDz2BoaTIQqz5NIAUun/ajP2gnFpIa'
}'더 나은 엔지니어가 되기 위해 > 지금은 안쓰는 자바' 카테고리의 다른 글
| [스프링 프레임워크 핵심 기술] IoC 컨테이너 1 (0) | 2020.02.20 |
|---|---|
| [스프링 부트 개념과 활용] 스프링 어드민 (0) | 2020.02.10 |
| [스프링 부트 개념과 활용] 데이터 4. Redis, MongoDB, Neo4j (0) | 2020.02.08 |
| [스프링 부트 개념과 활용] 데이터 3. DB 초기화, 마이그레이션 (0) | 2020.02.08 |
| [스프링 부트 개념과 활용] 데이터 2. JPA (0) | 2020.02.08 |


